As promised here is the tutorial for my Christmas Tree Granny Square, which I'm incorporating into my Christmas Zig Zag blanket. This square can be done a number of ways. Here's one way with UK crochet terms.
The first round is just like a normal granny.
With green chain 3 and join to form a ring with a slip stitch.
Ch 3, 2 trebles, ch 2
3 trebles, ch 2
3 trebles, ch 2
3 trebles, ch 1
Join to first treble (the first ch 3) with a dc.

In space below ch 3 (first treble), 2 trebles, ch 2, 3 trebles, ch 2
In next and 3rd corner space do the same.

Join brown (I knot it to the green and crochet in the end) and complete the second round. Fasten off the brown.

In space between the last brown shell and the first green, join the white and work one shell. Join green.

Work all the way round to the 3rd corner then join in the white.

Work one shell then join the brown, ch 1, 3 treble, ch 2, 3 treble, ch 1 and join to the first white shell. Fasten off the brown.

The last round is done in white and you should end up with a completed granny tree square.

Another way of doing this square is to work all the green in one go, then all the brown. The white would still have to be joined and finished a couple of times before the final round. Here's one I did this way.
With green chain 3 and join to form a ring with a slip stitch.
Ch 3, 2 trebles, ch 2
3 trebles, ch 2
3 trebles, ch 2
3 trebles, ch 2
Join to first treble (the first ch 3) with a slip stitch, ch 3. Turn.

In same chain 2 space, 2 trebles ch 2, 3 trebles ch 1.
In next chain space 3 trebles ch 2, 3 trebles ch 1.
In next 2 chain space 3 trebles, ch 2, 3 trebles. Turn.

Slip stitch across the top of the treble shell to the 2 chain space then ch 3.
In same space work 2 trebles, ch 2, 3 trebles.

Work your way round to the 3rd corner as a normal granny square and fasten off the green.

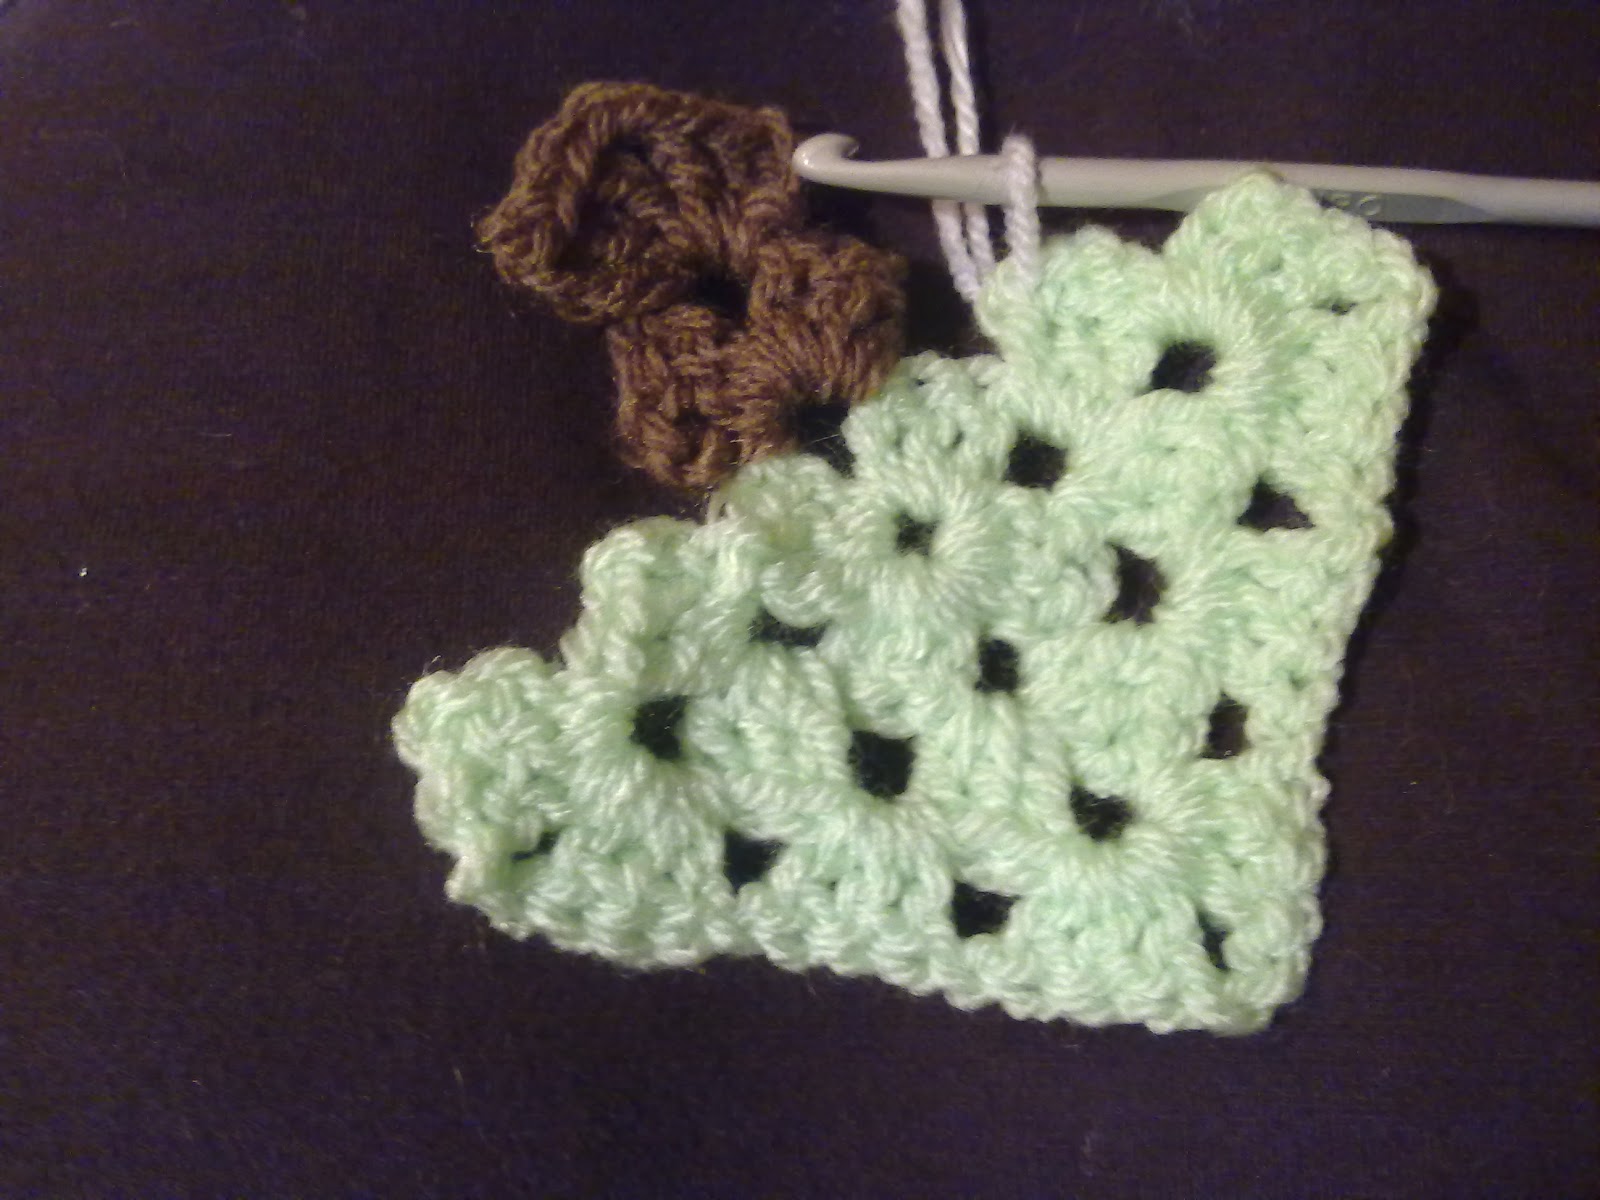
Join the brown in the centre 2 chain space on the long side (hypotenuse).
Ch 3, 2 treble, ch 2, 3 treble. Turn.


Slip stitch to the 2 chain space and Ch 3, 2 treble, ch 2, 3 treble.

Fasten off the brown.

This next bit is the fiddly part to put in 2 white treble shells. Join the white on the 3rd treble as shown below. Dc into the first brown treble then ch 3. Turn.

Ch 1 and slip stitch into the first green treble. Turn.

Slip stitch across the white shell then ch 1 and slip stitch onto the brown trunk.

Repeat for the other white shell.

All that is required now is the final round in white.

Hope all these instructions make sense and I've not made any mistakes in writing them down. Let me know if I have.
I'm also putting into the blanket a poinsettia granny square which I'll show you in another post.
xx
PS Did you spot the Advent Christmas Tree?
Click on the Advent Calendar label for more reading and on my December posts for last year for the Snowflake Calendar.
I spotted your advent tree in the second photo.
ReplyDeleteThe granny squares look very effective and look very easy to follow. Are thes going into your Christmas blanket?
Carolx
Certainly are.
Deletexx
I saw it! Happy Advents mum xx
ReplyDeleteI will make a tree a day! x
What a fantastic tutorial, must have taken you ages to do that. I like the snowflake garland best.
ReplyDeleteIRYPT....but as I can't crochet, it's all Greek to me!Jane x
ReplyDeleteI spotted the advent Christmas tree. I enjoyed searching for the snowflakes in your posts last year. Great tutorial, the square will look lovely in your blanket.
ReplyDeleteI've just spent most of the afternoon trying to work out how to do half a square only to realise now that I just need whole squares - der!!!
Deletexx
I love those cristmas trees. By the way, I beg to differ about your swimming not being championship stuff. A mile a time? That's brilliant in my book. Keep it up. Thanks for your words of encouragement re the novel by the way. It was so hard, but I did it!
ReplyDelete